


LESSON FIVE
……….…….……..
Continuing And Finishing An Oil Painting
Oil Painting Demo - Part Two

JOAN BROWN, “PORTRAIT OF LUPE”
I continued the still life on the same day so all of the paint was equally wet. If you have to take a break in your process for a day or two, you will want your painting to either be: 1. Very wet. 2. Dry to the touch (which it probably will be if you have been painting thinly), or 3. Very close to dry to the touch (barely sticky). If it is very sticky then the paint will not go on smoothly and you could potentially have problems with cracking or what we call ‘elephant skin’ wrinkling in the future. This wrinkling is caused by the under layer drying slower than the new upper layer. Some artists actually do not mind this effect. The fantastic painting by Joan Brown on the right, who often had lots of wrinkling in her thick work (look to the left of the head). After a few paintings you will learn what the appropriate level of 'dryness' is to begin your next layer.
Please Note: Each video in this course has its own unique password.
VIDEO PASSWORD: Continue
VIDEO LENGTH: 26:56 minutes
After you have some experience with oil painting, the four basic concepts become second nature and you don’t really think about them during your painting process. Additional take-aways from this Lesson are:

Continue throughout the process to check your values. Are your darks dark enough and your lights light enough?
Work from back to front even within objects such as flowers or vases. Paint what is 'furthest away from you' first.
Again, work up to using your white slowly.
Paint the dark values of each object/color first. It is easy to lighten a color, but difficult to get back to a rich dark.
Try not to overwork your brushstrokes or 'scrub' your painting. Think of placing the paint on the canvas with a few strokes and then going back to the palette to get more paint.
Wipe your brush often.
Remember, the painting is YOUR creation! You can manipulate the composition (remove or add flowers for instance), and change the background color, etc. This is one place where you are not beholden to reality.
Cleaning Your Palette
A quick demo on cleaning your palette, and what to do if you forget. I also talk about mud and saving your paint!
Please Note: Each video in this course has its own unique password.
VIDEO PASSWORD: Clean
VIDEO LENGTH: 9:00 minutes
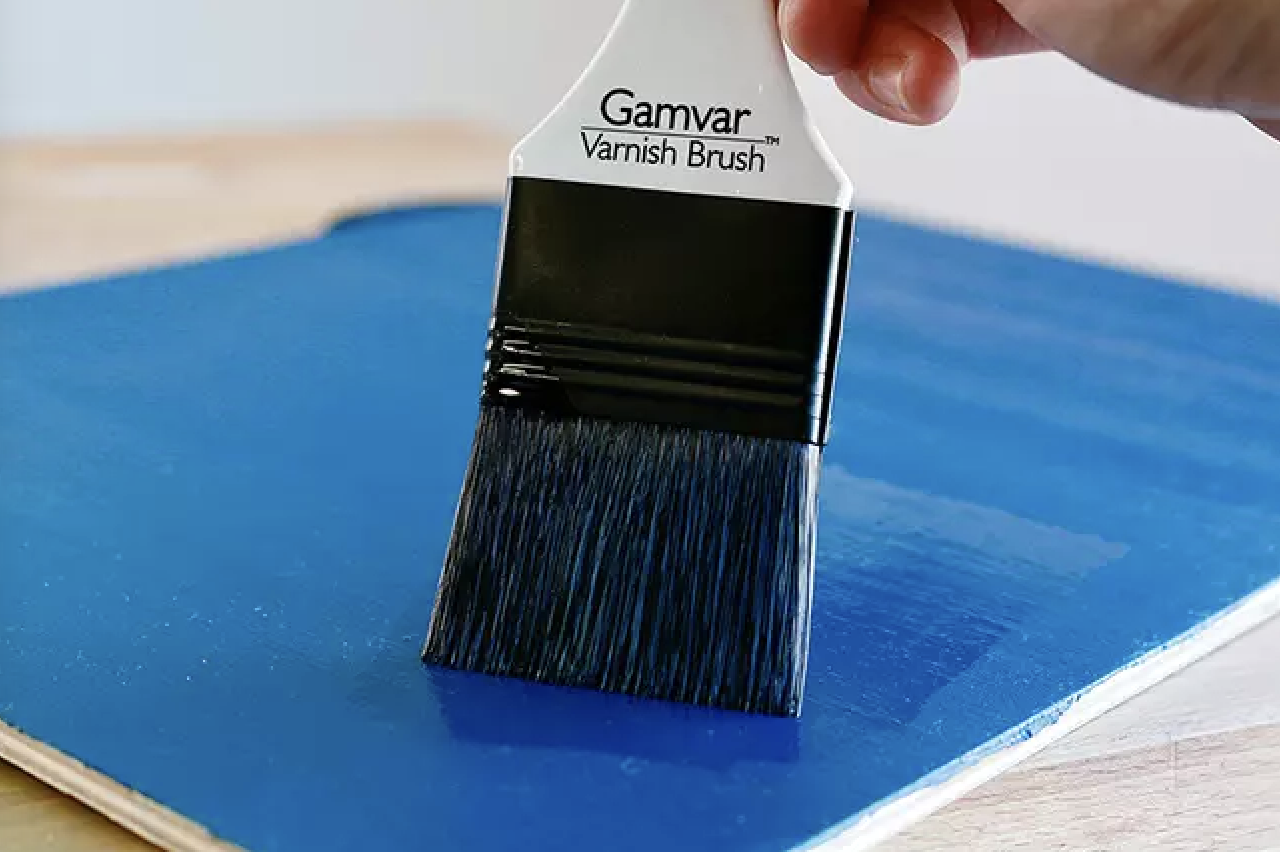
Varnish
Many artists finish their paintings with a layer of varnish. Varnish must be applied after the painting has fully dried. Depending on the thickness of the paint, a painting can take anywhere from six months to a year (or more if it is super thick!) to dry. Varnish comes in different sheens ranging from High Gloss to Matte. Varnish is typically brushed on with a wide, smooth synthetic or bristle brush, which leaves the fewest amount of brush strokes.
Artists varnish their paintings for the following reasons:
Often some areas of a painting will dry with a flatter finish, and other areas end up glossy. Varnish will even out the finish of a painting.
Varnish will bring out the rich darks that can dull or flatten when dry. With varnish applied, the appearance can be closer to the look of when the painting is wet.
Varnish can protect a painting.
This video below by GAMBLIN explains the process of varnishing. The concepts can be used with other varnish product as well. However, the GAMBLIN product may be easier to remove than other products.

Krylon Kamar Varnish
Provides clear, lasting protection for oil, acrylic, and water-based paints. It is free of the impurities found in natural varnish, so it will not yellow with age. It allows reworking of the painting, and it can be safely removed by conservators for restoration.
Spray can contains 11-oz (312-gr) net weight.
Once a varnish is applied the painting becomes 'unworkable.' In other words, you may not go back and change or paint over it as the new oil paint will not adhere well to the varnish. (This is quite different from applying a layer of gloss or matte medium to an acrylic painting where you can continue to work on it later.) You would need to remove the varnish to continue to work on an oil painting, and that is no easy task. (Even though the Gamblin video claims it is easy, this is actually time consuming and a delicate process).
A modern alternative to traditional varnishes is a spray varnish which is ‘workable.’ There are several of these on the market. I have successfully used the Krylon Kamar Varnish pictured to the right. It has a satin sheen (not too glossy) and can be applied about three months into the drying process instead of six. To apply, I spray a painting in even passes in one direction, wait 10 minutes, and then turn the canvas and spray again at 90 degrees to the first direction. I will repeat this until the painting has the right degree of sheen and coverage.
All that being said, many artists choose not to varnish their paintings. Depending on the painting I often prefer the matte, flatter finish, or even matte in one area and gloss in another. I also like to know that I can easily change a painting in the future if I choose to do so.
Why Should I Varnish My Painting?
Visit the GAMBLIN website to read more about the reasons for this important step.